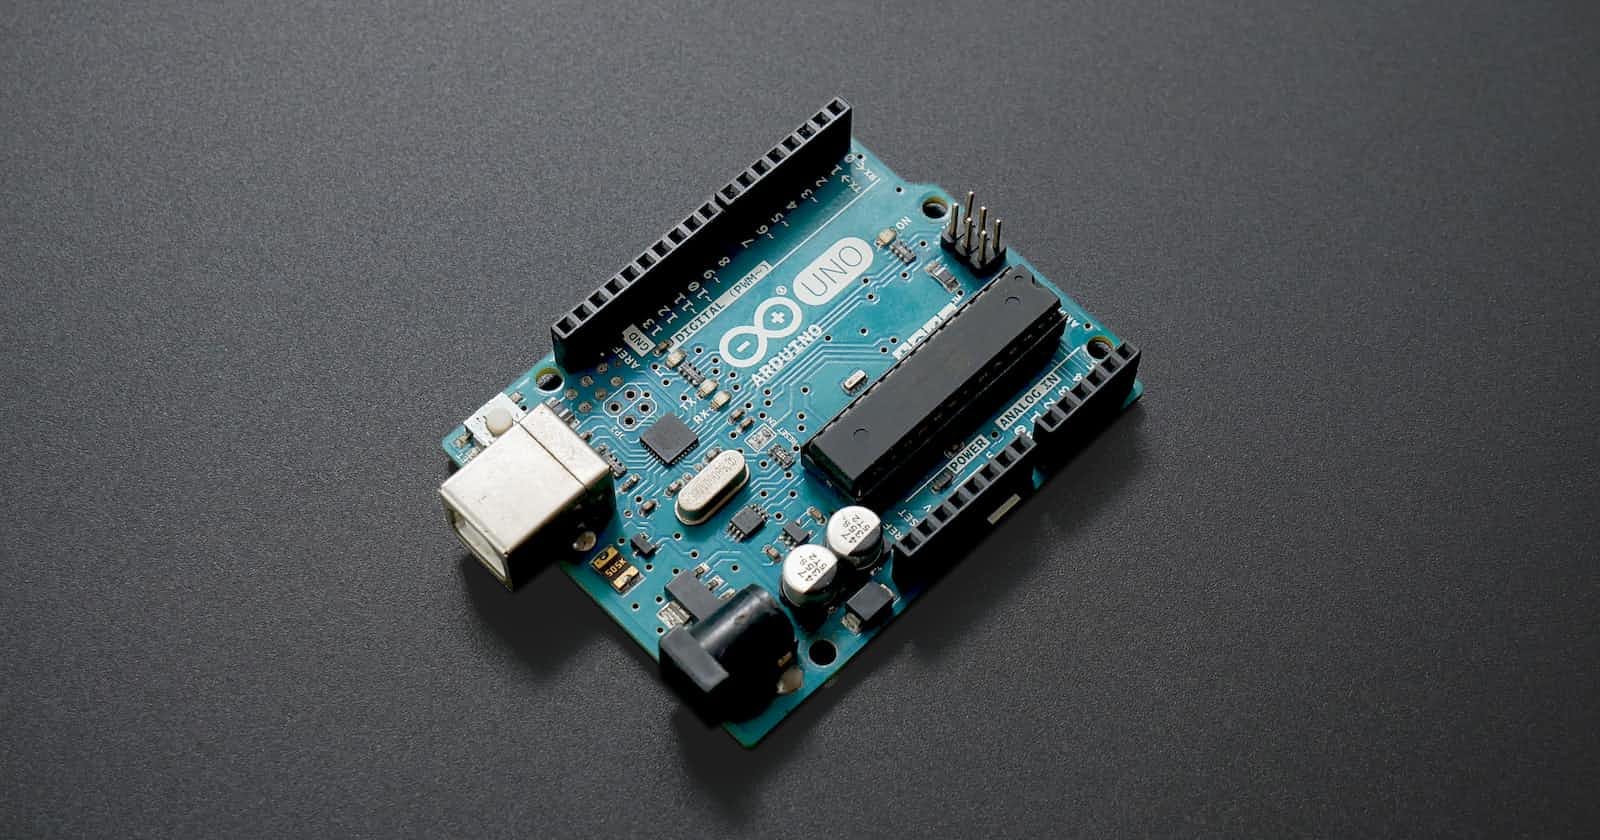
Photo by Vishnu Mohanan on Unsplash
DIY Arduino Car Speed Detector: Building an Automatic Speed Detection System
Maintaining appropriate speeds while driving is crucial for road safety. However, manually monitoring vehicle speeds can be time-consuming and inefficient. To overcome this challenge, an automatic system that detects the speed of vehicles without human intervention can be developed. In this article, we will guide you through the process of building your own Arduino Car Speed Detector. By utilizing IR sensors and an Arduino board, you will be able to accurately measure and display the speed of moving cars automatically.
Components Required
To build the Arduino Car Speed Detector, you will need the following components:
Arduino Uno board
IR Sensors x 2
16x2 LCD Display Module with I2C interface
Breadboard
Jumper wires
Power supply
Understanding IR Sensors
IR Sensors play a crucial role in this project as they detect the speed of the moving vehicle. In this setup, we will be using two reflective-type IR Sensors. The separation distance between the sensors should be accurately measured and adjusted in the code.
Circuit Design

The circuit for the Arduino Car Speed Detector is relatively simple. Follow these steps to connect the components:
Connect the digital output of the first IR Sensor to digital pin 11 of the Arduino.
Connect the digital output of the second IR Sensor to digital pin 12 of the Arduino.
Connect the power supply connections for both IR Sensors.
Connect the SDA and SCL pins of the LCD Display Module to the corresponding pins on the Arduino.
Programming the Arduino
To program the Arduino board, we will be using the Arduino IDE. The code provided below calculates the speed based on the time taken for a car to travel between the two IR Sensors and displays the result on the LCD display.
#include <Wire.h>
#include <LiquidCrystal_I2C.h>

LiquidCrystal_I2C lcd(0x27, 16, 2);

const int sen1 = 11;
const int sen2 = 12;
unsigned long t1 = 0;
unsigned long t2 = 0;
float velocity;
float velocity_real;
float timeFirst;
float timeSecond;
float diff;
float separationDistance = 10;  // Adjust this value based on the actual separation distance in centimeters

void setup() {
  lcd.begin(16, 2);
  lcd.print("Speed Detector");
  lcd.setCursor(0, 1);
  lcd.print("Initializing...");
  delay(2000);
  lcd.clear();
  lcd.print("Speed Detector");
  lcd.setCursor(0, 1);
  lcd.print("Ready!");

  pinMode(sen1, INPUT);
  pinMode(sen2, INPUT);
}

void loop() {
  if (digitalRead(sen1) == LOW && digitalRead(sen2) == HIGH) {
    timeFirst = millis();
    delay(30);
  }

  if (digitalRead(sen2) == LOW && digitalRead(sen1) == HIGH) {
    timeSecond = millis();
    diff = timeSecond - timeFirst;
    velocity = separationDistance / diff;
    velocity_real = (velocity * 360) / 100;  // Convert milliseconds to hours and centimeters to kilometers
    delay(30);

    lcd.clear();
    lcd.print("Speed: ");
    lcd.print(velocity_real);
    lcd.print(" km/h");
  }
}
Operating the Speed Detector: Once you have uploaded the code to the Arduino board and made the necessary connections, follow these steps to operate the Car Speed Detector:
Place the IR Sensors approximately 10 centimeters apart near a road or track.
Power on the Arduino.
As a car passes by the sensors, the Arduino will detect its speed and display the result on the LCD display.
Conclusion
Congratulations! You have successfully built your own Arduino Car Speed Detector. This project demonstrates how IR sensors, in combination with an Arduino board, can be used to create an automatic speed detection system. By monitoring the speed of vehicles, this project promotes road safety and provides a practical solution for enforcing speed limits. You can further enhance the project by adding features like data logging or integrating it with other traffic management systems. Enjoy experimenting with your Car Speed Detector and stay safe on the roads!

